
Selection guide: which spectro for your project?
Preamble
This guide is designed to help you select the spectroscopy instrument that best suits your needs.
The “ideal spectroscope” doesn’t exist in absolute terms – even if you have an unlimited budget. The best possible instrument can only be defined for a given application, in a given context. Choosing a spectroscope is therefore partly based on technical factors, which we’ll go into in detail, but also on more subjective factors concerning the use you’ll make of the instrument and your environment. Of course, the available budget is often the final factor in the decision.
At this point, there’s an important factor to consider, which is linked to the laws of optics (and therefore non-negotiable): for equivalent resolution, the bigger your telescope, the bigger the spectroscope. Another way of looking at it is that it’s “easier” to do spectroscopy with a small telescope; indeed, Shelyak’s range of instruments is mainly aimed at “small telescopes” – say between 70 and 700mm in diameter. Dans les éléments ci-dessous, nous vous donnons les principales clef qui vous permettront de faire le bon choix.
The key questions
I don't know the spectro, explain it to me.
Spectro with a slit… or not?
Advantages of a slitless spectro
A slitless spectro has two advantages:
- It’s particularly simple
- It is very efficient, since all the starlight enters the spectroscope.
In a slitless spectro, it’s the size of the image of the star at the telescope’s focus that determines the instrument’s resolution. You therefore need to pay particular attention to focusing, star tracking and anything else that might “spread” the star’s image. We’re therefore dependent on the turbulence of the sky (seeing), the wind, and so on.
Advantages of a slit spectroscope
The vast majority of spectroscopes used in astronomy have a slit at the entrance to the instrument. In this case, it’s the slit that gives the instrument its resolution. This enables :
- guarantee constant resolution, whatever the observation conditions (seeing, wind, tracking quality),
- observe an extended source: nebula, galaxy, etc,
- make the position of the spectrum in the image independent of the position of the star (provided the star is in the slit),
- wavelength calibration with a calibration lamp (which is always an extended source),
- achieve higher resolution (at the cost of losing some of the light in the slit),
- isolate the star you wish to observe, without the risk of overlapping spectra,
- significantly reduce the level of background light,
- de mesurer, en même temps que le spectre de l’étoile, celui du fond de ciel, pour corriger notre spectre de la pollution lumineuse.
measure the spectrum of the background sky at the same time as the star, to correct our spectrum for light pollution.
The only slitless spectro in the Shelyak Instruments range is the Star Analyser. All the others have a slit… and often several, to adapt the size of the slit to the focal length of the telescope.
Main spectroscope parameters
Spectral resolution power (R)
The resolution (Δλ) of a spectroscope corresponds to the smallest observable details in the spectrum. It’s a quantity expressed in wavelengths (either nanometers or angstroms; 1 nm = 10 Å). Usually, we use Resolution Power (R) instead, which is a dimensionless quantity defined at a given wavelength (λ). In astronomical applications, the Power of Resolution is often given around the Hα line, at 656.3 nm, and is calculated as follows:
R = λ / Δλ
A spectroscope is generally considered to offer low resolution below R = 1000, and high resolution above R = 8000 (these values can vary greatly depending on the context in which you’re working – the figures given here correspond to the amateur environment).
A low-resolution instrument covers a wide range of wavelengths (e.g. the entire visible range), and enables faint objects to be observed; for a given magnitude, exposure times are significantly shorter in low-resolution.
Conversely, a high-resolution instrument will enable us to observe – for example – minute details in the profile of a spectral line, but at the cost of a smaller field of view, and a significantly longer exposure time. Over a full night of observations, you’ll see far fewer objects.
As a general rule, all Doppler shift measurements are almost exclusively high-resolution (only objects with very high radial velocities, such as quasars, are accessible at low resolution).
Slit size
The spectroscope entrance slit is the interface between the telescope and the spectroscope. This slit is (almost) always the object of an essential trade-off: on the one hand, you want to widen it to collect as many photons as possible, and on the other, you want to close it to increase resolution (the slit has a direct effect on the instrument’s resolution).
Ideally, the size of the slit should correspond to the size of the image of a star at the focus of the telescope. This depends on two parameters: the telescope’s focal length and the sky’s seeing at your observation site (seeing characterizes the sky’s turbulence). If you don’t know the seeing of your sky, or if you’re observing in an “ordinary” site, consider a seing of 3″ (arcseconds). In the best observation sites, seeing can be as low as one arcsecond.
The size (T in µm) of the image of the star at the focus of the telescope of focal length F (in mm) for seeing s (in arcseconds) is calculated by the following formula:
T = F . s . π . 1000 / (3600 . 180) = F . 0,00485
For a given telescope and site, we recommend using a slit at least as large as this value.
An example: in the case of an amateur telescope with a focal length of 2 metres and a good observation site (seeing 2.5″), the slit size will be of the order of 25µm (2000 x 2.5 x 0.00485 = 24.25).
The above calculation can only be made if you know the telescope you will be using. If not, you can also use the slot size to estimate the telescope’s maximum diameter.
Aperture (F-ratio)
A telescope (or refractor) is defined by its focal length and diameter, and the ratio between these two values (F-ratio) is often given as its “aperture”. The more open a telescope is, the brighter it is (and the more expensive it generally is, because it’s optically complex to make an open instrument).
A spectroscope also has the same aperture parameter, which indicates its ability to handle a more or less open input light beam.
We will always try to match the aperture of the spectroscope to that of the telescope; for example, if a telescope is F/8, prefer a spectroscope also at F/8. If we deviate from this ideal adjustment, the instrument will function correctly (it will produce quality spectra), but at the cost of a loss of efficiency, either in light (we lose photons) or in resolution (we could do better).
Other parameters
Beyond these three main parameters, there are a few others to consider when choosing your instrumentation. For example, we need to consider mechanical adaptation (draw-in, adapter rings), or sensor sampling. At this stage, however, these can be considered secondary elements. For further details, we recommend reading the “Succesfully Starting in Astronomical Spectroscopy – A Practical Guide”.
Which telescope to choose?
I already have a telescope
If you already have a telescope, it can advise you on the type of spectroscope to install.
1. You can then make a quick calculation of the optimum slot size (see previous paragraph). To put it simply, below 500mm in diameter, we consider ourselves to be in the “small telescope” range, which corresponds to most of Shelyak’s instruments.
2. If the diameter of your telescope is greater than 500mm, it’s useful to make slightly more precise calculations. Depending on your objectives, you’ll certainly have to choose between higher resolution (even if it means losing a little light), or limiting magnitude (at the cost of lower resolution).
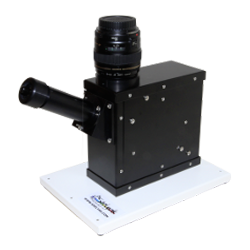
3. Above this diameter (> 500mm), consider a fiber-optic spectroscope, such as the eShel, or even the Whoppshel. Since, for a given resolution, the size of the spectroscope is proportional to that of the telescope, we quickly arrive at instruments that are bulky and heavy, and therefore subject to mechanical bending. Using an optical fiber between the telescope and the spectroscope separates these two elements, and keeps the spectro stable on a table. The optical fiber is typically 50μm in diameter (compared with most slits closer to 25μm), which is well suited to telescopes of 500mm and above. In the case of the Whoppshel, the fiber can even go up to 105μm in diameter (and thus telescopes in the 1m class and beyond).
I don’t have a telescope
1- Use a mirror telescope for spectroscopy. By design, these telescopes are purely achromatic, meaning they behave exactly the same at all wavelengths. These are the instruments that will best enable you to explore extreme wavelengths (UV and IR). There are currently two types of instrument on the market: Newton telescopes and Ritchey-Chrétien (RC) telescopes.
2 -To observe faint objects (low resolution), prefer an “open” telescope, i.e. with an F/D ratio of less than 5 (this is the case with Newtons, for example). Conversely, for high resolution, prefer a more closed telescope (F/8 or higher – RCs are generally at F/8).
200 – 300 mm telescope: Initiation range
")
Up to 500 mm diameter: Performance range

Over 500 mm in diameter: eShel & Whoppshel

What do I want to observe?
You can observe many different objects with a spectro, and measure many different phenomena. At the end of the day, it’s all a question of resolution, spectral range and limiting magnitude.
High resolution: bright targets
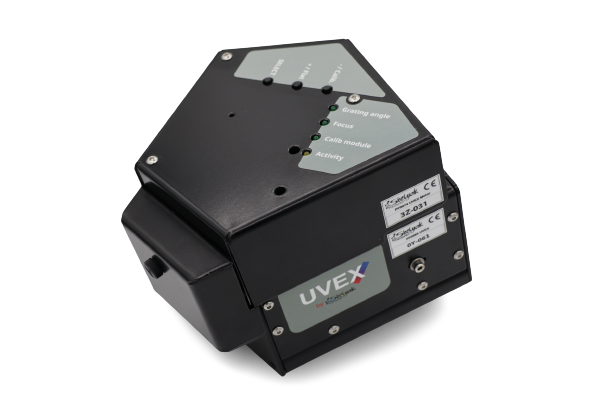
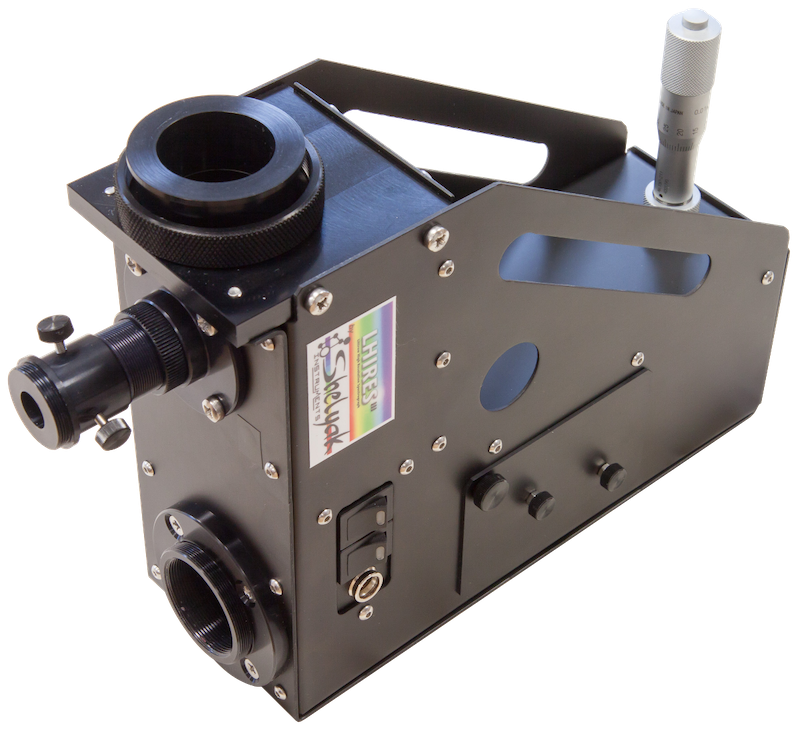
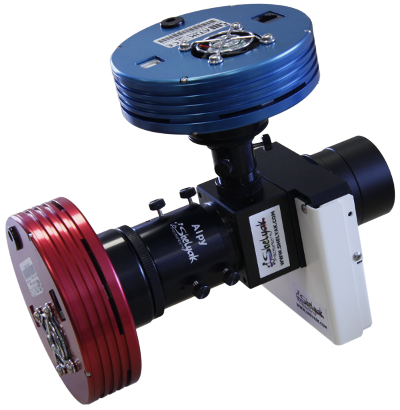
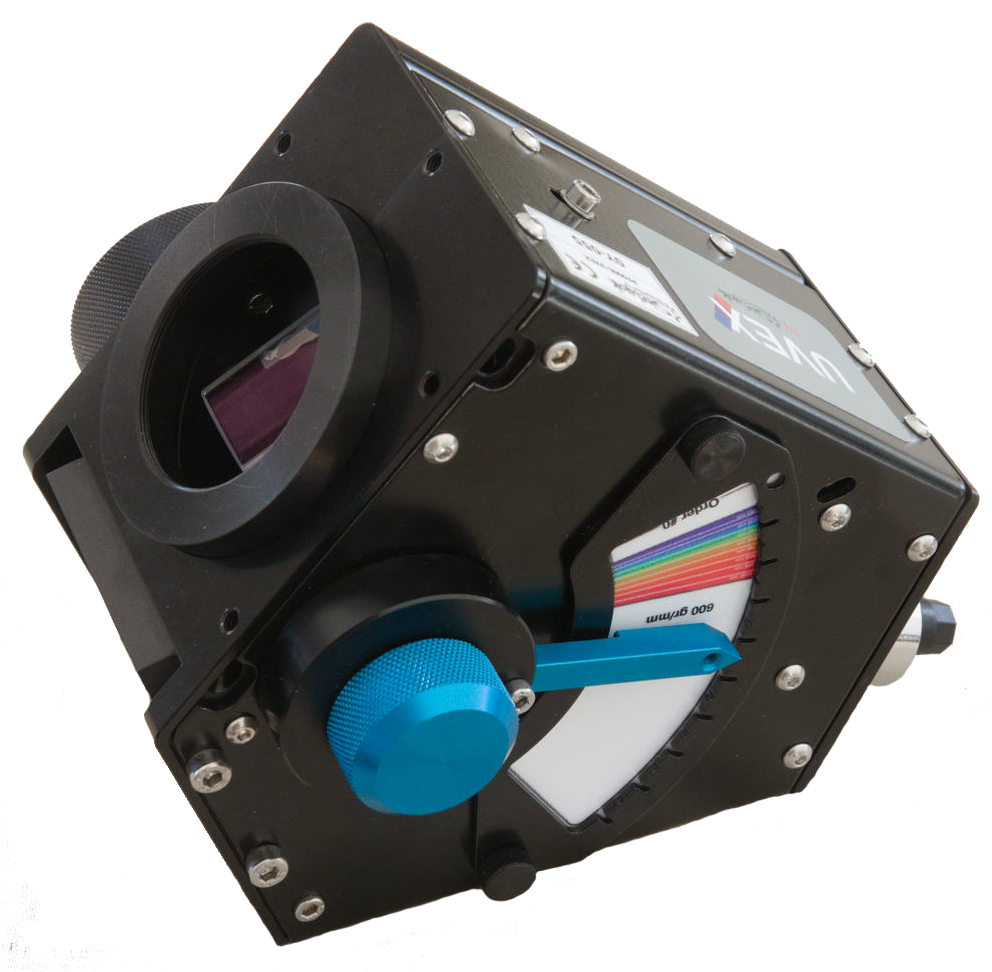
If you’re interested in radial velocity measurements, or measurements that require you to observe details in a line profile (in emission or absorption), then you need to go for high resolution. Either the spectroscopes : UVEX, LHIRES III, eShel and Star’Ex HR
Low resolution: low-light targets
If you need to observe faint objects – say above magnitude 7 or 8 – then you need to go for low resolution.
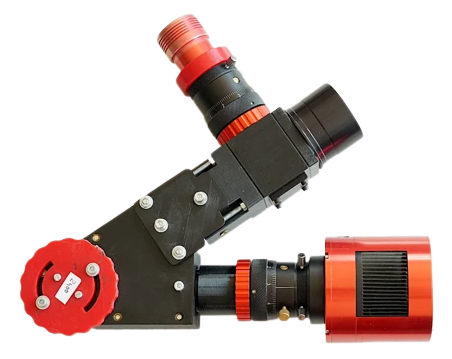
If you don’t know exactly how to answer this question (what to use your spectroscope for), because you simply want to discover spectroscopy, then we recommend you go for low resolution, for example with an Alpy 600, a LISA or a Sol’Ex / Star’Ex (see below). This will enable you to discover as many objects as possible, with reasonable exposure times (a few minutes). This also means more compact instruments, which are easier to use, and less expensive.
Versatility (for experienced observers) :
If you have several answers to this same question, because you’re aiming for several types of observations (some high-resolution, some low-resolution), then you should go for a versatile instrument, like the UVEX.
There’s clearly a compromise to be found between limit magnitude and resolution. If you need both (high resolution and faint objects), then the only variable is the diameter of the telescope, because you’ll need to collect more light; that’s why cutting-edge research is done with very large-diameter telescopes.
Making your own instrument
If you’d like to discover spectroscopy, we offer two different approaches: you can assemble your own instrument, or you may prefer to use a “ready-to-use” instrument.
1. The Sol’Ex / Star’Ex family offers a resolutely educational approach: you build the body of your instrument yourself, using 3D printing. Then assemble it using the optical components supplied by Shelyak Instruments. After a few hours of practice, you’ll have mastered your instrument. It’s also, of course, the least expensive approach.
2. If you prefer to get started with a ready-to-use instrument, then the Alpy 600 is for you. It’s compact, easy to set up and opens the door to fascinating observations.

Conclusion
To conclude this “guide to choice”, I’d like to remind you that the above elements are only guidelines for optimization. Bear in mind that any spectroscope mounted on any telescope will give a “quality” spectrum, i.e. it will give scientific information about the object of interest. I therefore systematically encourage observers to use the equipment they already have – even if it’s far from optimal configuration – rather than delaying their spectro debut on the grounds that they’re waiting for new equipment. To start with, all you need to do is observe bright objects. Questions of instrumentation optimization will only be sensitive when we move towards more ambitious observations, either in terms of magnitude or resolution. It’s also worth bearing in mind that it’s easier to do spectroscopy with small instruments: they’re cheaper, take up less space and are simpler to set up. Finally, we must also remember that optics is a “permanent trade-off”, and that the ideal does not exist. So it’s always wise to keep an overall view of your instrumentation, and not try to optimize a “point of detail”, even though you may lose 20 or 50% of efficiency on another element of the optical chain.
I hope you enjoy your observations!
(F. Cochard)